Converting a chilly, drafty barn into a warm and comfortable space starts with proper insulation. Barns, originally built for agriculture, typically have little to no insulation – they were never intended to retain heat. For UK self-builders and homeowners, understanding the best practices for insulating a barn conversion is crucial. Good insulation will not only keep your living space cosy year-round, but also improve energy efficiency (saving on heating bills) and prevent issues like damp and condensation.
Why Proper Insulation Matters
Barn structures present unique challenges: high ceilings, expansive open spaces, and materials like stone or brick that soak up heat but don’t hold onto it for long. Without intervention, a converted barn can be expensive to heat and uncomfortable in winter. Proper insulation ensures you retain the warmth from your heating system and avoid cold spots. It also helps with soundproofing (useful in echo-prone barn interiors) and contributes to meeting UK building regulations for energy efficiency.
In short, insulation is key to making a barn inhabitable as a modern home.
Moreover, insulating well is about more than comfort – it protects the building itself. By keeping moisture and frost at bay, insulation helps prevent condensation that could damage timber beams or lead to mold. In a damp British winter, a well-insulated and properly ventilated barn conversion will stay dry and healthy inside.
Assess Your Barn’s Structure First
Before picking up insulation materials, assess the construction of your barn. The best insulation strategy can depend on whether your barn is built from thick stone walls, brick, timber framing, or even corrugated metal:
- Stone or Brick Barns: Thick masonry walls have high thermal mass (they store heat) but are poor insulators on their own. They will need significant insulation layers to meet modern standards. The good news is the solid walls can support added materials, but you must address moisture (stone walls need to “breathe”).
- Timber Frame Barns: These might have infill panels or weatherboarding. There may be existing voids you can fill with insulation, but you’ll also likely add insulation between new inner studs. Timber structures must be protected from condensation to avoid rot.
- Steel or Metal-Clad Barns: Thin metal walls have virtually no insulation value and can condensate. Here, creating a new insulated timber frame inside the barn is a common solution, effectively building insulated walls within the shell.
Understanding your barn’s construction helps you decide whether insulation should be added internally, externally, or both. It’s often wise to have an architect or building surveyor evaluate the structure. They can identify any structural reinforcements needed (since adding insulation and linings adds weight or stress in places) and advise on damp-proofing measures to implement alongside insulation.

Barn Conversion Wall Insulation: Internal vs External
One of the biggest questions is whether to insulate your barn’s walls from the inside (internal insulation) or the outside (external insulation). Each approach has pros and cons:
Internal Wall Insulation (IWI):
This is the most common method, especially if you want to preserve the barn’s external appearance. It involves building a stud frame along the inside of the existing walls and filling it with insulation material. For example, you might fix timber or metal studs, fit insulation batts or boards between them, then finish with plasterboard. This approach keeps the outside look unchanged – crucial for barns with beautiful stonework or brick that you don’t want to cover up (and often a requirement if the barn is in a conservation area).
The downside is that it slightly reduces interior floor space, and you must be careful to manage moisture. Use of breathable insulation materials (like wood fibre batts or sheep’s wool) can help avoid trapping moisture in the old walls. A breathable membrane is usually installed between the old wall and the new insulation to allow any condensation to escape, thus preventing damp issues in the future. Internal insulation is a flexible approach and can be done in sections.

External Wall Insulation (EWI):
This method adds insulation to the outside face of the barn. Typically, insulating boards are fixed to the external walls, then covered with a weatherproof render or cladding. The big advantage is that you won’t lose any interior space, and you can often achieve higher insulation values (thicker insulation) more easily since it’s not eating into your rooms.
EWI also wraps the entire building, reducing thermal bridges (points where heat could sneak out). However, external insulation will alter the barn’s exterior appearance, which may not be desirable or even permitted. If your barn has a quaint stone facade, covering it with render might erase some of its character – an unacceptable trade-off for many.
Planning authorities in the UK often restrict changes to the external look of converted barns. If allowed, a common strategy is to use external insulation and then apply a sympathetic finish, such as reapplying stone or brick slips on top of the insulation or using wood cladding, so the barn still looks rustic. Keep in mind that details around eaves, windows, and doors need extending or adjusting when insulating externally (for example, roof overhangs may need to be extended to shelter the new thicker walls).

Which Insulation Should I Use?
In many cases, internal insulation is the go-to approach for barn conversions in Britain. It lets you retain the characterful exterior. Just remember that if you insulate inside, you should maintain a gap or breathable layer against the original wall to avoid trapping moisture. Using natural wool or fiber insulations that can “breathe” (allow moisture to diffuse) is often recommended over completely impermeable boards. Internal insulation works best when paired with proper ventilation and possibly a vapor control layer on the room side to stop indoor humidity from soaking into the insulation depending on your specific situation and material selection. If in doubt, consult an architect or relevant specialist.
Roof and Ceiling Insulation in Barn Conversions
Heat rises, making roof insulation a top priority. In a barn conversion, the roof is often a large surface area through which a huge amount of heat can escape. Many barn conversions feature dramatic vaulted ceilings or exposed roof timbers, which look great but pose an insulation challenge. To insulate your barn’s roof effectively, you have a couple of approaches.
Insulating Between and/or Above Rafters
If you plan to leave internal rafters exposed for character, you can add insulation above the rafters (i.e., on the external side, under the roof covering) in the form of rigid insulation boards before re-tiling or re-slating the roof.
If you don’t want to remove the existing roof covering, the common method is to fit insulation between the rafters from below. For example, you might fit sheeps wool or wood fibre insulation boards snugly between rafters or use mineral wool. Often, a combination is used: boards between rafters plus an insulated sheathing board layer under the rafters to reach the high level of insulation needed.

Current residential UK regulations (under Approved Part L1) for roof insulation aim for about a 0.16 W/m²K U-value (a measure of heat loss). You’ll need to look at your specific arrangement, how thick your rafters are to enable you to finalise your specification. This typically means around 225mm of sheeps wool – check with your architect and suppliers on exact thicknesses as other factors such as amount of glazing, or heritage considerations may have an impact on thermal performance requirements.
Ensure you leave an air gap above insulation (if between rafters) for ventilation, or use breathable insulation that can go fully against the roofing felt if it’s a modern breathable membrane type. In design terms, many barn conversions incorporate a new ceiling slightly higher than the ridge to conceal insulation, while still leaving some beams visible. This can give you the cosy look of wood beams overhead without the heat loss of an uninsulated peak.
Insulating the Ceiling (Loft Space)
In cases where the barn has an attic or you’re creating a flat ceiling (perhaps for a second floor that isn’t habitable), you can treat it like a standard loft: roll out layers of insulation on the ceiling joists. This is very effective and cost-efficient (loft insulation is one of the cheapest ways to save energy). The trade-off is you won’t have an open vaulted interior – instead you have an insulated attic above which could be cold unless the attic itself is insulated. Many barn homes embrace the open roof, so this method is less common unless you decide to create an attic storage area.
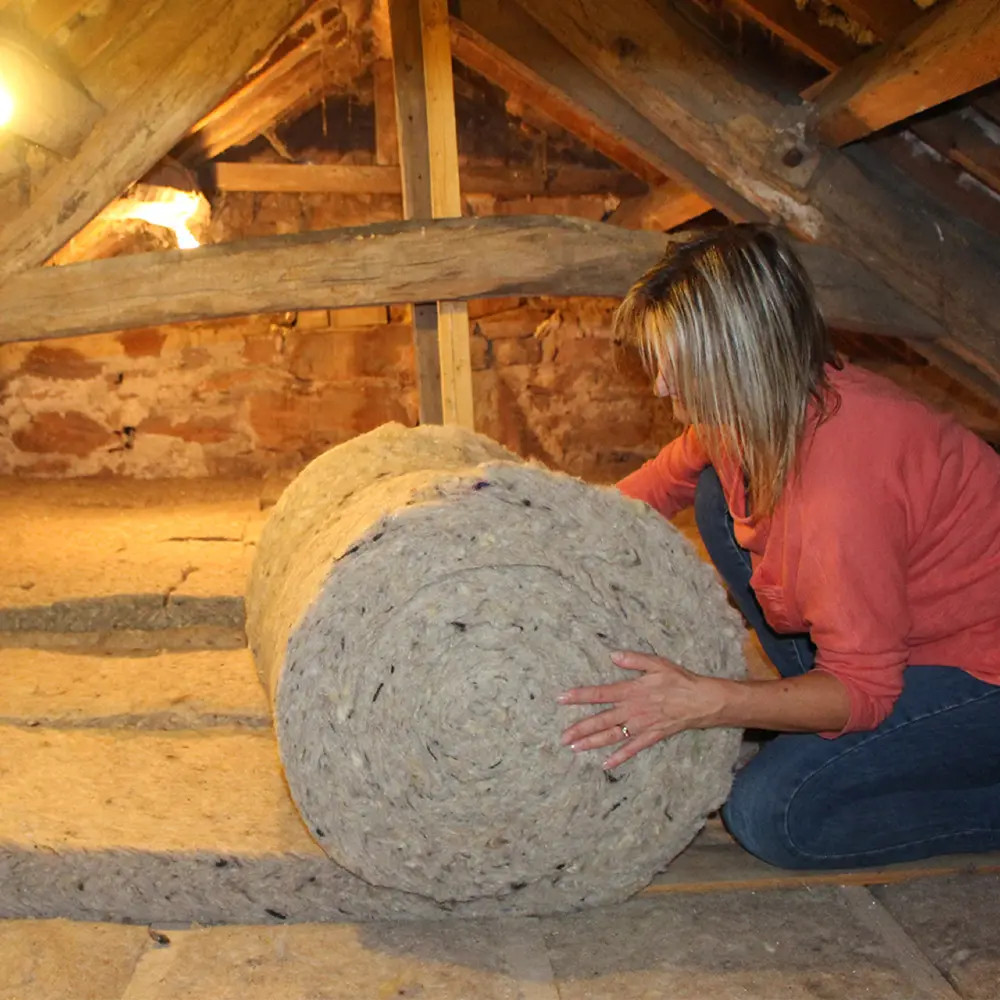
Don’t forget the rooflights or dormer windows if you’re adding any – these should be high quality (double or triple glazed) to not undermine your roof insulation efforts. Also, insulate and draft-proof the loft hatch if you have one, as it’s a small but significant heat-leak spot.
Floor Insulation in Barn Conversions
Barn floors can be tricky. You may be dealing with an old concrete slab, stone paving, or just dirt if the barn had no proper floor. This can become increasingly difficult if you have a floor with historical significance that shouldn’t be broken out.
To create a warm, dry living space, floor insulation is important, especially for ground floors in contact with the earth. Remember, breathability is key and also meeting u-value requirements when you’re renovating or self-building a new dwelling. Approved Document L1 states a minimum u-value requirement of 0.18W/m²K U-value. This can be relaxed in some instances where meeting this requirement may cause long-term deterioration of a historic and traditional dwellings fabric or fittings (0.10 of Part L1).
Conventional Concrete Slab with Insulation Below
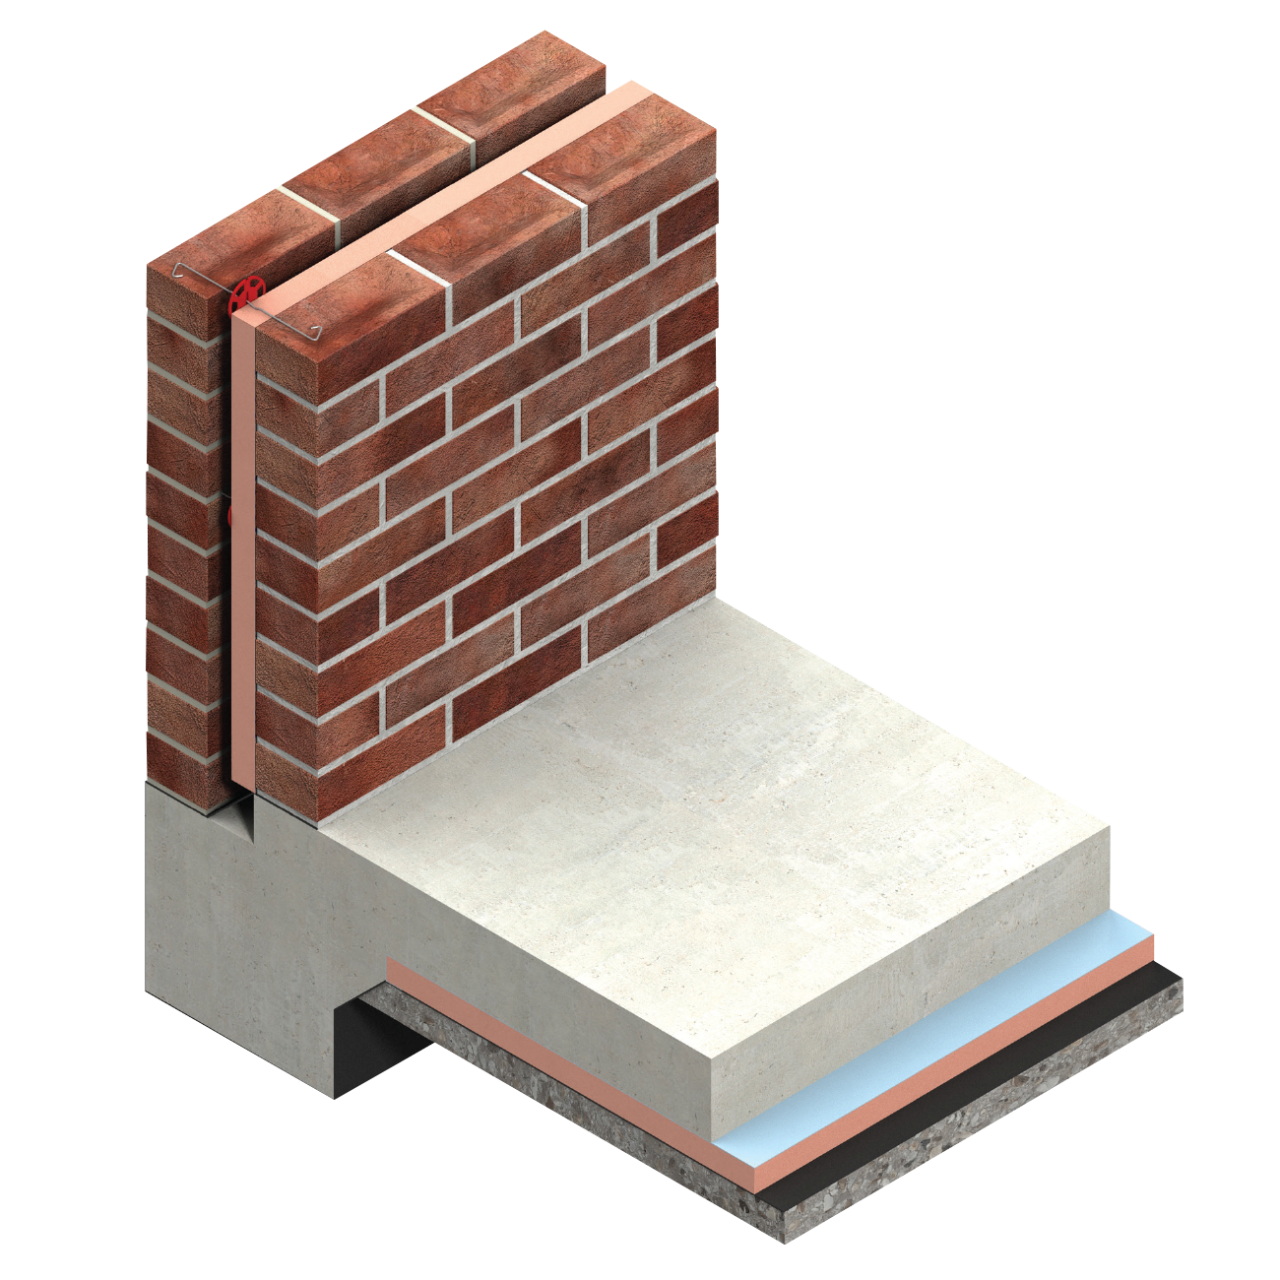
The usual standard for conversions is often to pour a new concrete slab floor (or layer of screed) with insulation incorporated below. This usually means digging out the old floor down to make room.
A typical buildup might be:
- Compacted hardcore sub-base
- A sand layer
- A polythene damp-proof membrane (DPM) to stop ground moisture
- Rigid insulation boards (e.g., 125mm PIR boards)
- Concrete slab/screed
- Your Floor Finish
If you plan underfloor heating, the pipes would usually sit above this insulation layer. The result is a floor that meets modern insulation standards and is protected from rising damp.
If excavation is an issue (sometimes barn floors are lower than external ground and you must be careful), you might instead lay insulation above an existing slab (with a thin screed over it) – however, this raises the floor level, which could reduce ceiling height or require adjustments to door thresholds. Balance these factors based on your site.
Important Note: Most insulation materials for this type of conventional construction rely on an impervious damp proof membrane. Insulation materials also require a high compressive strength so that they can be placed either below the slab itself, or below the screed. This limits the type of materials used to those that can potentially damage the traditional construction of the building.
Insulated Limecrete Slab
This is a more recently developed method of insulating solid floors in traditional buildings based on a designed mixture of natural hydraulic lime binders and insulating aggregates. Limecrete Floors are breathable, eco friendly and can be cost-effective as they are shallow. They’re also work with under-floor heating systems.
The installation is straight forward with an example specification of limecrete flooring being:
- Permeable Floor Finish
- Lime Screed (2.5:1 by volume, sharp sand:NHL5)
- Underfloor Heating, if required embedded within Screed
- Geogrid for Attaching Underfloor Heating Pipes (if required)
- Geotextile Membrane Above
- Compacted Foam Glass
- Geotextile Membrane Below
- Firm sub-soil
When working with a historic and traditional dwelling that relies on a vapour permeable construction that both absorbs moisture and readily allows moisture to evaporate, this should really your best practice option.
Suspended Floor (Timber)
If your design involves a suspended timber floor (say, if you’re building a new timber first floor or a raised ground floor above an uneven base), you can insulate between the joists with mineral wool or rigid board. Ensure to include ventilation beneath a suspended ground floor to prevent moisture buildup.
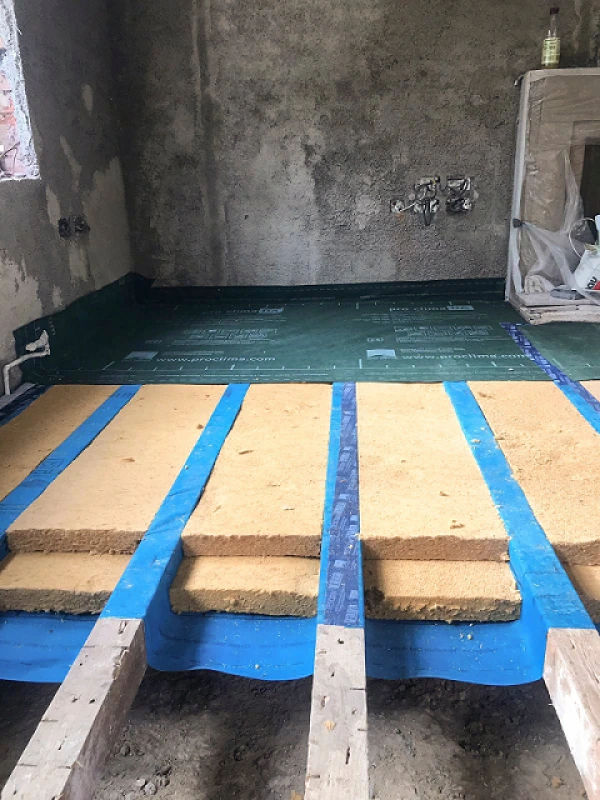
Choosing the Right Insulation Materials
Not all insulation is created equal. Let’s look at common options and where they shine in barn conversions. In practice, you might use a combination of these materials. The key is to ensure a continuous insulation envelope around the living spaces. Any gaps or poorly insulated sections (like an uninsulated patch of wall behind a retained feature) could become a cold spot and attract condensation.
Rigid Foam Boards (PIR/PU boards)
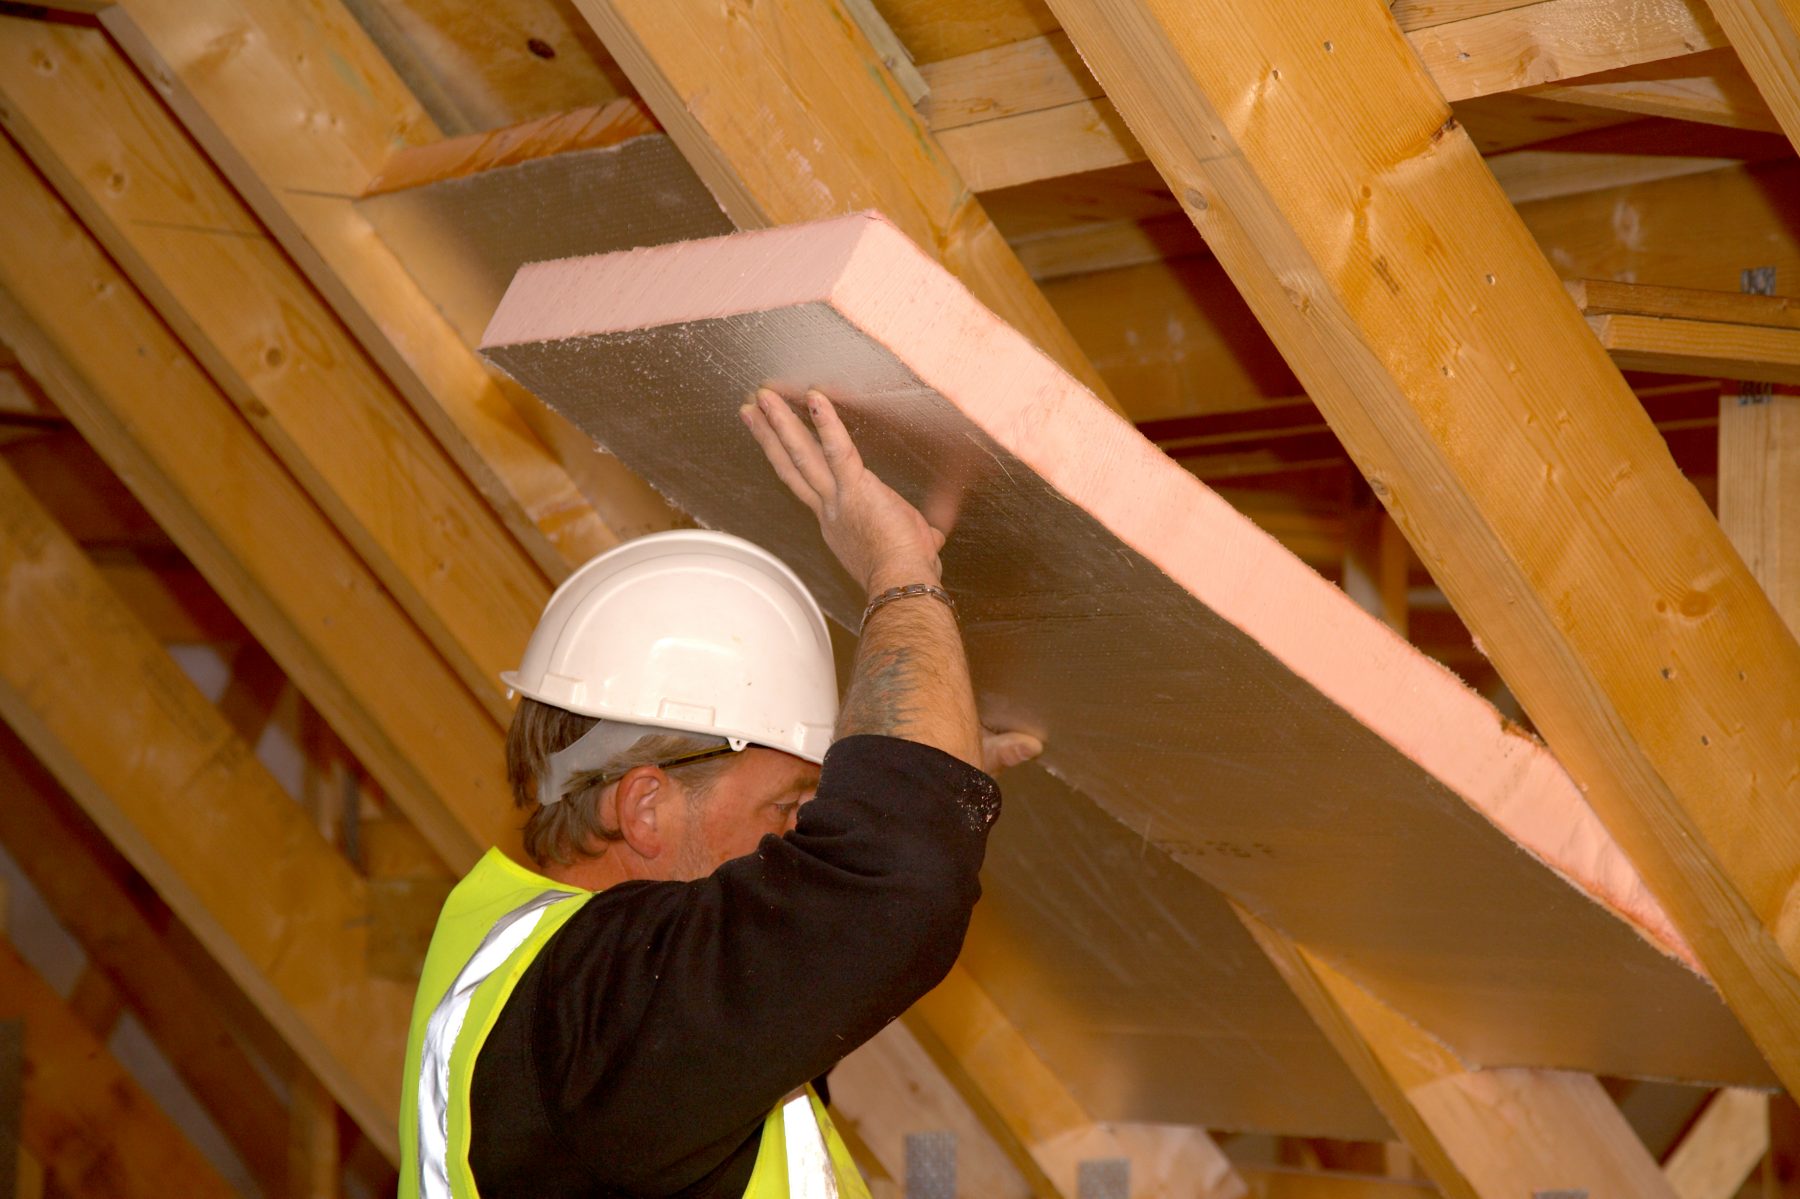
These are the Kingspan type boards (typically yellowish or foil-faced). They have a high R-value (insulation power) per inch, which means you get a lot of insulation in a relatively thin layer. This is great where you don’t have much space – for example, in the roof or on the walls internally if you want to minimise thickness.
They are best for flat surfaces or easy-to-frame areas because they need to fit snugly to work well. In a barn, you’ll likely use PIR boards in floors (they can handle compression under concrete if rated for floor use) and between roof rafters or in stud walls. One important thing: tape the seams of foil-faced boards to minimise cold spots and maximise air tightness.
Also, PIR boards are not breathable, so if you use them, ensure you carefully consider the structure that you’ll be putting this up against. Most issues relate to condensation, lack of ventilation and breathability in buildings. Getting the selection and detailing correct is going to help you complete works that won’t deteriorate your buildings fabric over time.
Mineral Wool (Glass or Rock Wool):
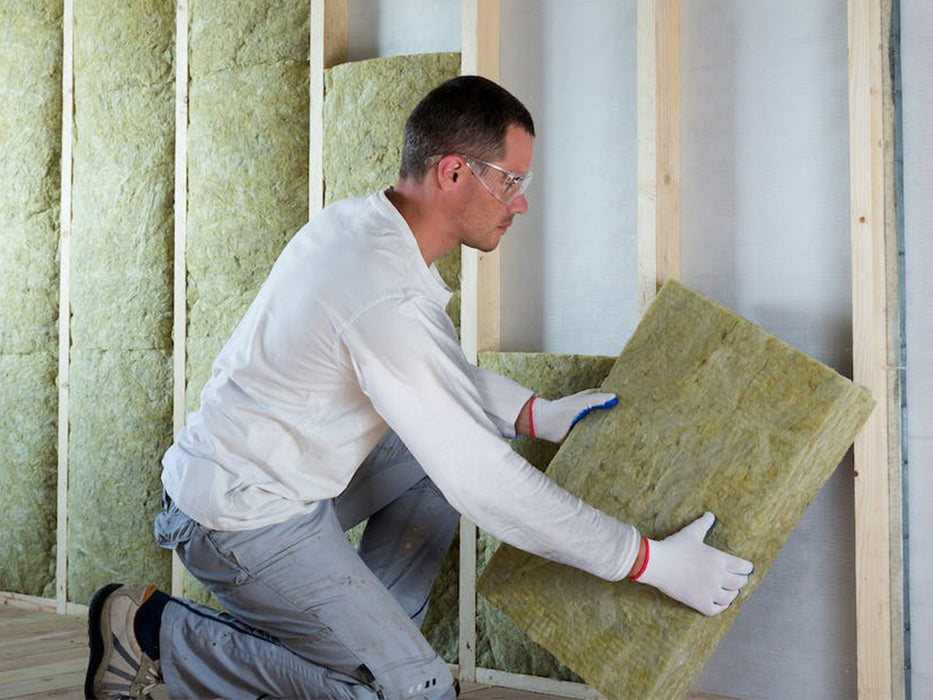
These wool-like batts (like the familiar rolls of “loft insulation”) are versatile. The high-density rockwool slabs are good for wall insulation within stud frames and also add some sound insulation. They’re not as thermally efficient per thickness as PIR boards, but they are fire-resistant and breathable – to an extent. Mineral wool can hold moisture though, so ensure there’s a barrier if used in a place that might get wet. For a barn, you might use mineral wool between floor joists or in timber frame walls if cost is a concern, it’s generally cheaper than natural insulation.
Natural Insulation (Sheep’s Wool, Wood Fibre, Hemp, etc.):
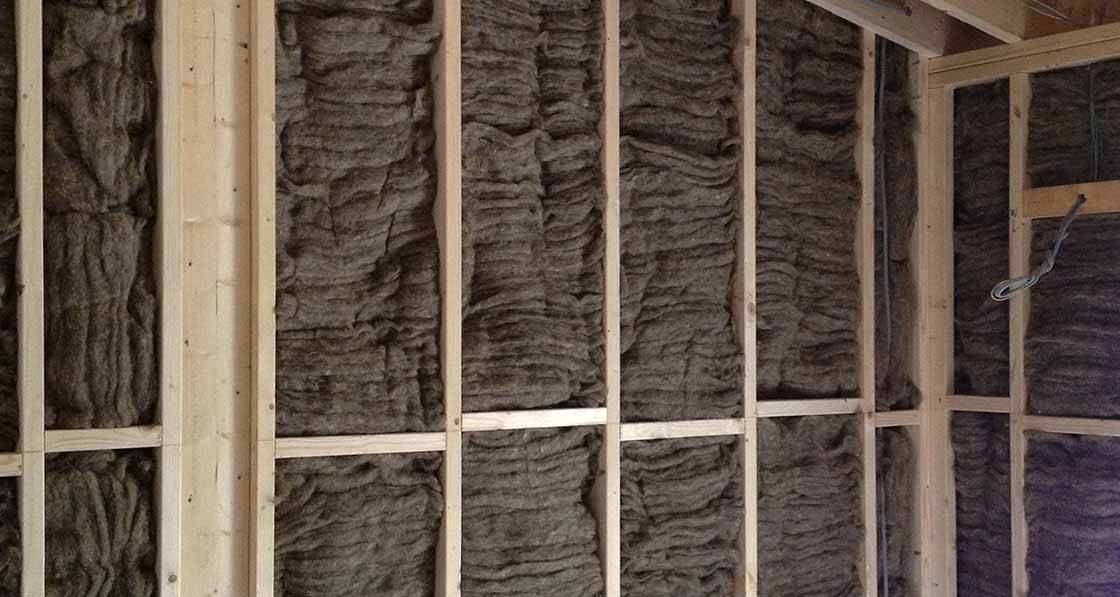
There is growing interest in eco-friendly insulation, and barn conversions are a great candidate for these. Sheep’s wool insulation can be fantastic in stone barn walls because it’s breathable, absorbs moisture and releases it (helping to prevent condensation), and is sustainable.
A typical method is to batten out the wall and fit a breathable insulation such as sheep’s wool between the studs, then cover with plasterboard.
Wood fibre boards or batts are another option – these can be used as internal wall insulation with lime plaster on top, allowing the wall to breathe naturally. These materials are more forgiving to the historic fabric of a barn, albeit often thicker for the same insulation performance as PIR. They can also help regulate humidity (acting almost like a buffer).
Cost can be higher, but some homeowners find the peace of mind worth it – you’re less likely to get into issues with trapped moisture. If you’re aiming for a really sustainable or even Passive House-standard barn, natural insulations are usually the way to go (along with meticulous air-tightness).
Preventing Damp and Ensuring Breathability
One thing you’ll hear a lot with barn conversions is “don’t let the building sweat”. Old barns were often made of breathable materials – they didn’t have plastic membranes trapping moisture. When we convert them, we introduce concrete, plastic, insulation, etc., which if not done carefully can seal in moisture where it’s not wanted. Preventing damp is as important as insulating itself.
Use Breathable Layers
Wherever possible, use a breathable membrane on the outside (cold side) of insulation layers (particularly for walls). This is a special sheet that stops liquid water (rain) from coming in, but lets water vapour out. For example, in an internally insulated wall, you might have the stone wall, then a breathable membrane, then insulation, then an internal vapor barrier or plasterboard. This way, moisture that sneaks into the wall can evaporate outward. Without that, moisture could condense on the cold inner face of the stone behind the insulation and cause mold. Breathability is especially crucial for historic masonry that needs to release moisture.
Vapour Barriers in the Right Place
Typically, a vapour control layer (VCL) goes on the warm side of the insulation – just behind your interior finish. This might be a polythene sheet or foil backing that stops moist indoor air from reaching the cold wall. In some designs, foil-faced PIR boards taped at the joints act as the VCL. However, if you’re using a fully breathable build-up (like wood wool and lime plaster), you might skip the plastic sheet in favor of “breathing” both ways. The rule of thumb is make sure one side of the insulation is more breathable than the other, so moisture doesn’t get stuck in the middle. In barns, a common approach is breathable externally, vapor-blocking internally.
In summary, think of insulation and ventilation as a pair: you insulate to trap heat, and you ventilate to let moisture out. This way, you won’t get the unwanted side effect of condensation. New barns that are insulated to high levels must have proper ventilation (whether passive or active) – we’ll discuss mechanical ventilation options in a dedicated post about heating and ventilation. But as a teaser: consider an MVHR (Mechanical Ventilation with Heat Recovery) system if you’re going super airtight, since it can provide fresh air without losing heat.
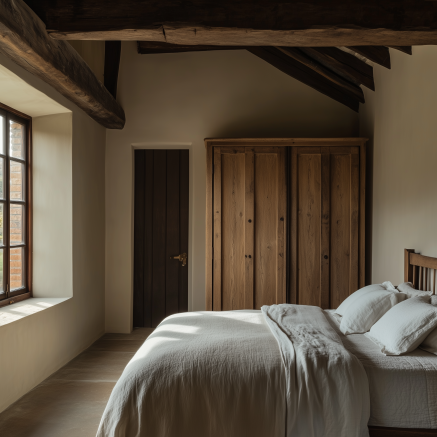
Work With the Barn’s Character, Not Against It
One of the best practices that’s a bit intangible is maintaining the barn’s character while insulating. Rather than treating the barn like a blank canvas for insulation, consider its features and work around them creatively.
Historic timber beams can be left on show by fitting insulation between them or behind them. For instance, in a roof, you might leave the bottom of the rafters visible and put insulated boards above them. In walls, if you have an old timber post-and-beam grid internally that you want to showcase, you could fit insulation between those timbers and finish flush, so the timber still protrudes and is visible as a frame.
The takeaway is: don’t automatically sacrifice all barn features for insulation. You can usually find a balance. An architect experienced in barn conversions can propose solutions that hide insulation in clever ways. After all, one reason to convert a barn (instead of building new) is the gorgeous rustic elements – we want to keep those visible where we can.
As both Architect and Interior Designer, we love a barn conversion project. If you have a project in mind, feel free to get in touch and tell us about your project.
Notes Written by Tim Willment, RIBA

About the Author
Email: design@zahrada.co.uk
Phone: +44 01962 453990
ZAHRADA is led by Tim Willment, an ARB-registered Architect. He is supported by his wife Zofia, an Architectural & BIID-registered Interior Designer.
We’ve built a design practice that is small, intimate and approachable. We have a particular fondness for breathing new life into old and forgotten spaces.


